All Categories
Featured
Table of Contents
- – Travel Trailer Awning Replacement Silverado, CA
- – OCRV Center
- – Travel Trailer Roof Replacement Silverado, CA
- – Rv Travel Trailer Repair Near Me Silverado, CA
- – Travel Trailer Ceiling Repair Silverado, CA
- – Travel Trailer Replacement Windows Silverado, CA
- – Camper Trailer Service Silverado, CA
- – Travel Trailer Awning Replacement Silverado, CA
- – Travel Trailer Roof Replacement Silverado, CA
- – Trailer Roof Repair Silverado, CA
- – Trailer Floor Repair Silverado, CA
- – Cargo Trailer Repair Silverado, CA
- – Trailer Windows Replacement Silverado, CA
- – OCRV Center
Travel Trailer Awning Replacement Silverado, CA
The even more you utilize your trailer, the more it's necessary to keep your slide. Our team will certainly examine for correct securing, procedure and lubrication to maintain it in working order. We'll help you weather the cooler months while guarding critical systems. Our team drains lines, adds antifreeze and prepares devices for below-freezing temperatures.
Normal upkeep extends your trailer's effectiveness, stopping a demand to change it earlier. Savvy owners like you consistently pick Large Tex Trailer Globe as their companion for steed and livestock trailer solutions because: We have places across the United States with the services and experience you can trust.
Equine At Turnbow Trailers in Oklahoma, we take pride in our background. Several years of hard work have gone into making this business and the custom trailers we generate the most effective in the country today. Carl and Poise Turnbow began Turnbow Trailers in 1960, armed with nothing greater than a little money, great deals of guts and a desire.
Travel Trailer Roof Replacement Silverado, CA
Carl and Poise are both in the office every day, managing the operation and ensuring points are done right. A lot of every person right here is a veteran of the trailer business and 90 percent of our individuals have actually been here for 10 years or even more. It's this commitment and devotion to our craft that assists us transform out the type of equine trailers we make.

We are frequently transforming and boosting our trailers to meet the demands these days's demanding equine industry. We like to believe we're big sufficient to meet all your trailer requires, yet small sufficient to provide each customer the individual attention they deserve. When you purchase a Turnbow Trailer, you can rest assured that you've gotten the very best trailer at the most effective cost readily available today.
Rv Travel Trailer Repair Near Me Silverado, CA
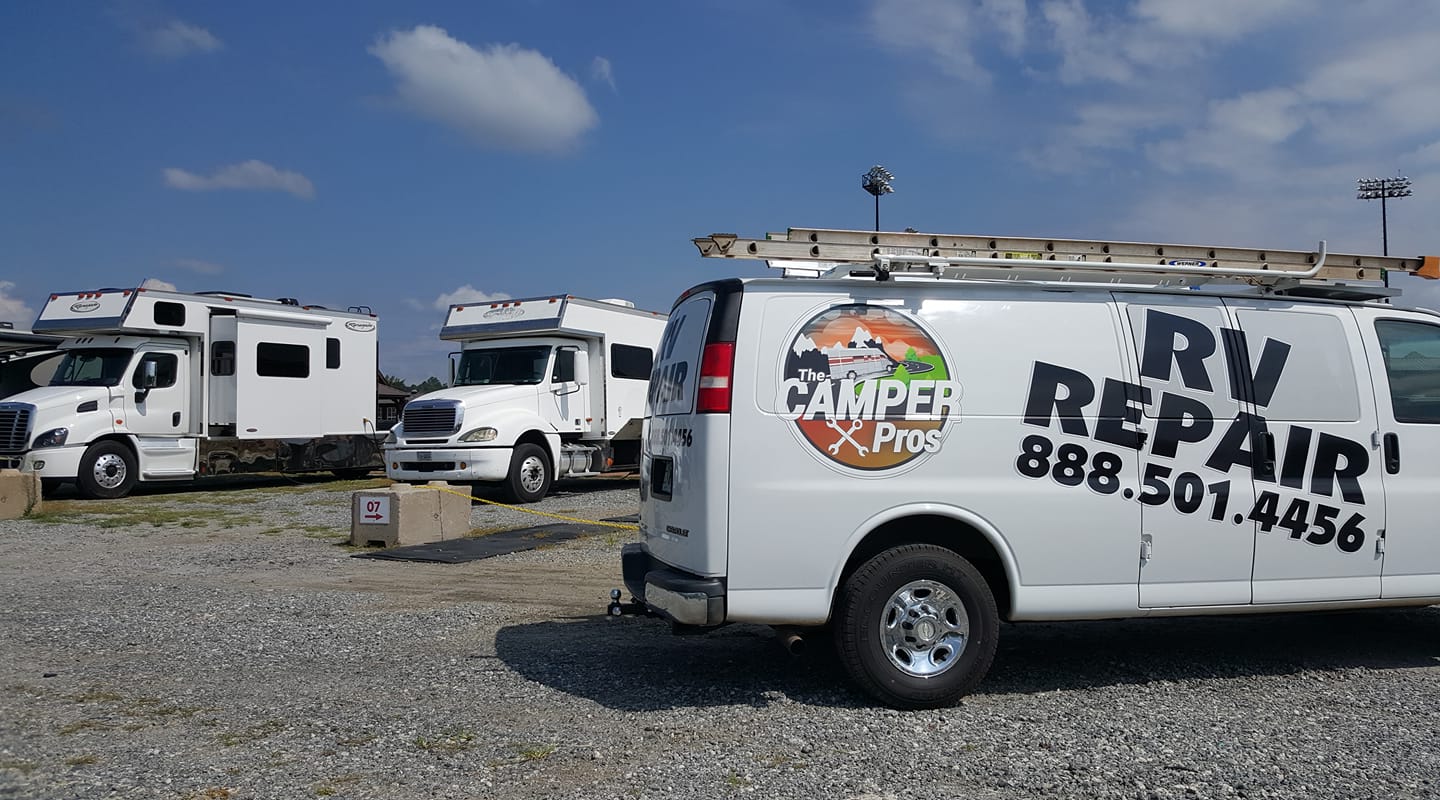
is more than simply a recreational vehicle repair service store; we're a three-way hazard in the sector. Our slave's heart drives us to go above and beyond for our clients. Second, our group has substantial RV repair and trailer upkeep expertise and know-how. Third, we focus on finding and setting up the excellent devices for your lorry, guaranteeing you're fully equipped for your following experience.

Boespflug Trailers has been a family-owned and operated organization given that 1983 with generations of experience. In 1997 a bigger facility was created with customer requires in mind to allow broadened sales and service chances.
You can trust our solution expertise for years to find with our trustworthy solution technicians and comprehensive components stock. You can select from our in-stock trailer inventory or unique order a tailored system to your specs. To guarantee the very best value for you, we make every effort to equip just product that provide high quality, durability, and value.
Our solution store offers expert, prompt repair work or manufacture on many trailers up to 30,000 # GAWR, including recreational vehicle's. We also mount hitches on tow lorries. We have transportation experts to make sure quick, damage-free delivery of your unit. We can supply anywhere in the United States (reduced 48 and Alaska) and Canada.
Travel Trailer Ceiling Repair Silverado, CA
When you're invested in seeing to it your trailer remains in fantastic functioning order for many years ahead, you need expertise and ability you can depend on. Our very educated professionals are dedicated to preserving and servicing your Kingston Trailers, 4 Celebrity Trailers, Hawk Trailers You can obtain the most out of your acquisition - Travel Trailer Furniture Silverado.
This labor intensive solution eliminates ugly black touches and other contaminates from your trailers paint. Deep clean the inside of your horse trailer to get rid of constructed up contaminates and smells. * Pricing for all services depends on the dimension and problem of trailer * We are pleased to give quality service in the Pottstown area.
It is with excellent enjoyment that we offer to you our carefully picked array of products that have come to be an integral part of our company.
When you're purchased making certain your trailer, such as an automobile hauler, dump, enclosed, or utility trailer remains in excellent functioning order for several years to come, you need understanding and ability you can trust. Our extremely trained professionals are devoted to preserving and servicing your trailer so you can obtain one of the most out of your acquisition.
Travel Trailer Replacement Windows Silverado, CA
Integrity is important when there's a job to do and we have the devices and experience to get your trailer back on the road. Provide us a telephone call and we'll get you in and out of the store in a reliable and prompt way. Jimmy's Automobile Fixing & Trailer Supply is pleased to provide high quality service near the areas of Culpeper, Fredericksburg, Warrenton, Manassas, and Fairfax.
Don't be tricked right into thinking your neighborhood gas station is a trailer specialist. Auto brakes are various from trailer brakes and automobiles don't have breakaway systems, and so on. Horse trailers are what we do and our manufacturing facility educated auto mechanics concentrate on completing producer recommended annual trailer service. Preventative maintenance has to do with security and financial savings.
Axle makes recommend that brakes be serviced each year. Our yearly solution plan includes complete cleansing, evaluating and repacking the bearings, changing the seals and cotter pins or tang washers.
All moving parts are oiled. Maintaining your trailer properly serviced keeps you and your horses secure. All makes and designs of trucks and trailersAnnual preventative maintenance for horse trailersB & W gooseneck drawbacks, framework tow drawbacks installedBrake control installment and truck wiring for all makes and modelsAll sorts of electrical repair work and serviceSteel and aluminum construction for all sorts of trailersWeight dispersing hitchesPre-purchase safety checks.
Camper Trailer Service Silverado, CA
When it involves hauling heavy lots, you require a utility or freight trailer challenging sufficient to endure the pressures of nature and your type of work. At Drawback King, we are your ONE-STOP purchase all things trailer associated in New york city, NY. Not only do we provide energy trailers offer for sale, yet we also supply trailer repair work.
Whether making use of an energy trailer for business or personal usage, it is necessary to stay current on upkeep. Trailers, tow drawbacks, and the like been available in all forms and sizes, so you always desire to have a specialist double-check compatibility along with all electrical and safety functions prior to every tons.
From small issues to significant work, Drawback King's trailer repair solutions will certainly maintain you roadworthy and your cargo secure. Our experts function hard because we know you do, also.
For a free quote on any service at our area in New York City City, give the Hitch Pros a telephone call today at, or request a quote online currently.
Travel Trailer Awning Replacement Silverado, CA
If you have actually ever before been to our shop, you will promptly see that horse trailers are our specialized. We established a special bond with several customers for many years who return year after year to ensure they have a safe trailer prior to they carry any one of their steeds. A lot of our on-site solutions are carried out at equine barns.
Several equine proprietors simply want us to carry out a safety and security check. They want to understand their trailer is risk-free for their precious horses because allow's face it, some individuals like their steeds even more than they like individuals. That's all right. We get it and we take our duties significant to guaranteeing everyone a safe trip.
Travel Trailer Roof Replacement Silverado, CA
Anything from kicking a door to peing on the flooring boards creating moisture in between the floor covering and the timber. We change a great deal of wood floors making sure the structural honesty of the trailer and a safe ride for the steeds. We likewise do a lot of warm stress cleaning of the inside and beyond horse trailers.
We are a family-run service and we employ our staff members with the same stability and small-town attitude as the owner. We even press washed the within of an equine barn.
Trailer Roof Repair Silverado, CA
"I put a great deal of miles on my equine trailer going to shows throughout the nation. Shawn and his team provide regular maintenance and have never ever up-sold me to something I didn't need. They are additionally not stuck on a 9-5 routine. I have dropped and grabbed my trailer when it was hassle-free to me." Trudy Midas, EspanaSilk "We traverse 12,000 miles annually with our LQ horse trailer and there's actually no way we can do it without Shawn's assistance.
As a female that typically takes a trip alone cross country with my children and equines, having Shawn and his team at ALL-MAC preserve and fix my gear offers me (and my partner) the confidence I require to hit the trail and know we will certainly be safe. The lower line is that Shawn and his group are the very best and I highly advise them!" Kristy Gusick "The satisfaction your company gives me is invaluable" Sarah Hoban "We align our trailers and All Mac invests the day doing what would certainly take us days if he had to relocate every one of our trailers to one more place to get dealt with.
When you're spent in seeing to it your trailer remain in magnum opus order for years ahead, you require understanding and skill you can depend on. Our extremely educated professionals are devoted to preserving and servicing your Kingston Trailers, 4 Star Trailers, Hawk Trailers You can obtain the most out of your acquisition.
Trailer Floor Repair Silverado, CA
This labor extensive service removes unsightly black streaks and other infects from your trailers repaint. Travel Trailer Furniture Silverado. Deep clean the inside of your steed trailer to remove accumulated contaminates and smells. * Prices for all services depends on the size and problem of trailer * We are proud to provide top quality service in the Pottstown location
Offering Farmington Hills, Farmington, Novi, Livonia, Northville Since 1958 When it concerns your horses, safety and security constantly comes initially. Before you pack your steeds right into the trailer, be sure to hook up and execute a short inspection of the tires and lights. Keep a tire scale helpful and examine that the tire is holding the proper pressure (called PSI).
Dry rot can happen also if the tire walk still looks wonderful, and when those splits reveal up, your tire becomes endangered. Always examine the pressure when the tires are cool.
Cargo Trailer Repair Silverado, CA
And do not fail to remember the spare tires. The appropriate stress for your horse trailer tires is located right on the tires. Many tire blowouts happen due to the fact that a tire wasn't effectively pumped up, so take a few minutes to inspect before you leave. Steed trailers call for particular tires, largely as a result of the load they're carrying.
Similar to any roadway car, your horse trailer is mosting likely to need and periodic repair work service to maintain it performing at its ideal. Lots of horse trailer owners are unsure how to appropriately care for their trailer, so we've created this overview to assist with some common worries. Always describe the owner's handbook for particular details about your trailer version.
Trailer Windows Replacement Silverado, CA
OCRV Center
Address: 23281 La Palma Ave Yorba Linda, CA 92887Phone: (714) 909-1444
Email: [email protected]
OCRV Center
If you are a useful person, it may be tempting to work on an equine trailer on your own at home. Nevertheless, we highly suggest that you allow a qualified professional carry out any type of repair or update work with your trailer. Of all, a professional will certainly make sure that the job is done appropriately without any type of damages to your trailer.
Travel Trailer Window Replacement Silverado, CATrailer Windows Replacement Silverado, CA
Travel Trailer Repairs Silverado, CA
Trailer Window Replacement Silverado, CA
Trailer Windows Replacement Silverado, CA
Fifth Wheel Repair Near Me Silverado, CA
Rv Trailer Repair Near Me Silverado, CA
Travel Trailer Repairs Silverado, CA
Travel Trailer Service Silverado, CA
Trailer Roof Repair Silverado, CA
Fifth Wheel Repair Near Me Silverado, CA
Camping Trailer Repair Near Me Silverado, CA
Trailer Awning Replacement Silverado, CA
Rv Trailer Service Near Me Silverado, CA
Travel Trailer Window Replacement Silverado, CA
Travel Trailer Roof Replacement Silverado, CA
Camping Trailer Repair Near Me Silverado, CA
Trailer Awning Replacement Silverado, CA
Travel Trailer Siding Repair Silverado, CA
Trailer Restoration Silverado, CA
Rv Trailer Service Near Me Silverado, CA
Rv Trailer Repair Shops Near Me Silverado, CA
Travel Trailer Ceiling Repair Silverado, CA
Travel Trailer Window Replacement Silverado, CA
Trailer Windows Replacement Silverado, CA
Trailer Window Replacement Silverado, CA
Trailer Roof Repair Silverado, CA
Travel Trailer Siding Repair Silverado, CA
Camper Trailer Service Silverado, CA
Trailer Floor Repair Silverado, CA
Travel Trailer Ceiling Repair Silverado, CA
Rv Travel Trailer Repair Near Me Silverado, CA
Travel Trailer Service Silverado, CA
Travel Trailer Siding Repair Silverado, CA
Trailer Floor Repair Silverado, CA
Camper Trailer Service Silverado, CA
Rv Trailer Repair Near Me Silverado, CA
Trailer Restoration Silverado, CA
Camping Trailer Repair Near Me Silverado, CA
Camper Trailer Service Silverado, CA
Travel Trailer Floor Repair Silverado, CA
Rv Trailer Repair Shops Near Me Silverado, CA
Rv Trailer Service Near Me Silverado, CA
Trailer Windows Replacement Silverado, CA
Rv Trailer Repair Shop Silverado, CA
5th Wheel Repair Near Me Silverado, CA
Travel Trailer Furniture Silverado, CA
Rv Trailer Repair Shops Near Me Silverado, CA
Travel Trailer Roof Replacement Silverado, CA
Travel Trailer Ceiling Repair Silverado, CA
Travel Trailer Floor Repair Silverado, CA
Rv Trailer Repair Near Me Silverado, CA
Travel Trailer Roof Replacement Silverado, CA
Rv Trailer Service Near Me Silverado, CA
Travel Trailer Siding Repair Silverado, CA
Camping Trailer Repair Near Me Silverado, CA
Travel Trailer Siding Repair Silverado, CA
Trailer Window Replacement Silverado, CA
Camper Trailer Service Silverado, CA
Travel Trailer Service Silverado, CA
Camper Trailer Service Silverado, CA
Travel Trailer Siding Repair Silverado, CA
5th Wheel Repair Near Me Silverado, CA
Rv Travel Trailer Repair Near Me Silverado, CA
Trailer Windows Replacement Silverado, CA
Travel Trailer Furniture Silverado, CA
Trailer Windows Replacement Silverado, CA
Rv Travel Trailer Repair Near Me Silverado, CA
Rv Trailer Repair Shops Near Me Silverado, CA
Travel Trailer Siding Repair Silverado, CA
Travel Trailer Service Silverado, CA
Rv Trailer Repair Shops Near Me Silverado, CA
Travel Trailer Ceiling Repair Silverado, CA
Fifth Wheel Service Silverado, CA
Trailer Windows Replacement Silverado, CA
Travel Trailer Window Replacement Silverado, CA
Trailer Windows Replacement Silverado, CA
Trailer Roof Repair Silverado, CA
Find A Good Seo Marketing Silverado, CA
Finding A Seo Agencies Silverado, CA
OCRV Center
Table of Contents
- – Travel Trailer Awning Replacement Silverado, CA
- – OCRV Center
- – Travel Trailer Roof Replacement Silverado, CA
- – Rv Travel Trailer Repair Near Me Silverado, CA
- – Travel Trailer Ceiling Repair Silverado, CA
- – Travel Trailer Replacement Windows Silverado, CA
- – Camper Trailer Service Silverado, CA
- – Travel Trailer Awning Replacement Silverado, CA
- – Travel Trailer Roof Replacement Silverado, CA
- – Trailer Roof Repair Silverado, CA
- – Trailer Floor Repair Silverado, CA
- – Cargo Trailer Repair Silverado, CA
- – Trailer Windows Replacement Silverado, CA
- – OCRV Center
Latest Posts
Small Business Web Design Glendora
Montclair Best Local Seo Services
Internet Lawyer Marketing Villa Park
More
Latest Posts
Small Business Web Design Glendora
Montclair Best Local Seo Services
Internet Lawyer Marketing Villa Park